Great for people and situations like these
Write your own sequels and endings
Add to the latest chapter, create a different path from a middle chapter, build a story from settings and foreshadowing, or write with the same settings as a story you love.
No need to wait for sequels or new releases
Once you've read a story you love up to the latest chapter, you can create what comes next (except for cases like the last chapter of a completed story). You can continue from the latest chapter, or create a different path from a chapter in the middle.
For people and situations like these
- 📖You finished it in one go and want more
The moment you wonder “what happens next?”, you can create the next chapter and read it.
- 💭You have a plot in mind
You can request what you want to happen in the next chapter, which characters should shine, the mood, and more.
- 🌙One chapter before bed
One chapter takes about 10–20 minutes (it may take longer if it's busy and you have to wait in line). While it's being created, you can read other chapters.
How to use
1Tap “Write what happens after the latest chapter!” at the end of the latest chapter
It's at the very bottom of the chapter page. Tapping it opens the continuation section.
2Choose what you want to happen, and enter a pen name
Choose how many chapters to create, what you want to happen in the next chapter, the mood, and more. Anything you don't choose is made with “Choose for me”. Your pen name is shown as the author of that chapter. Finally, check the box to agree to the Terms of Use and Privacy Policy.
3“Continue the story” → On the confirmation screen, “Write it”
Your choices and the estimated time are shown. To change something, tap “Go back and edit”.
4Wait for it to finish
While it's being created, the progress screen shows a spinning icon, your place in line, the percentage done, and the time elapsed. The bar at the top of the screen also shows the time remaining. Even if you close the screen, it keeps being created in the background. When it's done, “Your story is ready!” appears, and “Read it now” takes you to that chapter.

If something doesn't work
- The continuation button doesn't appear
It doesn't appear on the last chapter of a completed story. Instead, the story's page shows “Creating sequels is coming soon” (if a story has a sequel, you can read it from “Sequel”). From a chapter in the middle, you may be able to create a different path.
- I see “You need to sign up (free) to create a story”
Sign up from “Log in / Sign up (free)” and you'll be able to create.
- I can't tap the button
You can't tap it when submissions are paused, when your previous creation isn't finished yet, or when you've used up your 5 chapters for the day (it resets at midnight Thai time).
- I see a message saying it couldn't be created
Tap “Try again” and it will be recreated from where it stopped. Any parts already finished are kept as they are.
- Some chapters have no illustration
That chapter's illustration didn't pass our check (of things like the shape of hands and bodies). Tap “Redraw illustration” and it will be redrawn with a composition that passes more easily. You can do this once per chapter, and it doesn't count toward the chapters you can create today.
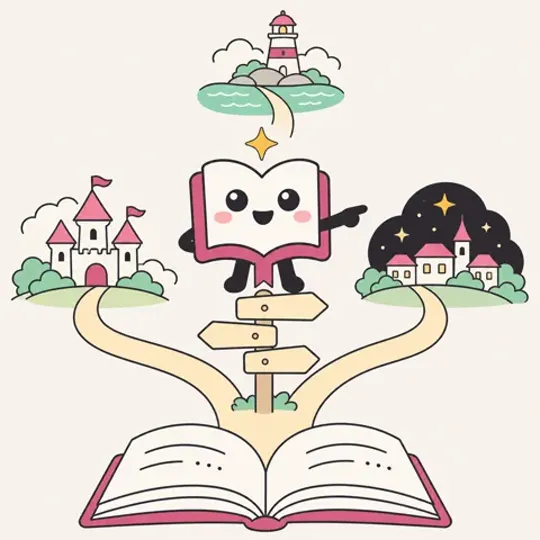
Make “What if the ending had been like this” come true
From a chapter in the middle, you can create a different path of your own. Existing chapters stay, and your chapters are listed as a new route.
For people and situations like these
- 🔀If you had made a different choice at that scene
From the chapter before the part you want to change, you can create a different continuation.
- 💔You're not satisfied with the ending
From the chapter before the last one, you can create and read a different ending.
- 👥You want to read other people's routes too
At the end of a chapter, routes created by other people are listed too.
How to use
1Open the chapter before the part you want to change
You can choose it from the contents on the story's page.
2Tap “Write your own take on what happens next (Chapter ○)!” at the end of the chapter
The continuation section opens with “Branch off with a new continuation”.
3Choose in the continuation section and create
Existing chapters stay as they are, and your chapters are added as a new route. How to create is the same as in “No need to wait for sequels or new releases”.
4Choose from “How do you want the story to continue?” and read
At the end of that chapter, the original route and your route are listed.
If something doesn't work
- Some chapters don't show the continuation section
It doesn't appear on chapters where a continuation can't be created, such as the last chapter of a completed route. Move to the chapter you want to rewrite.
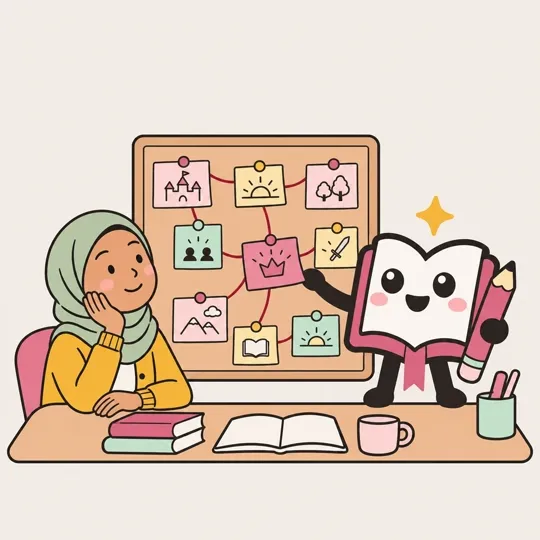
For practicing storytelling
In “Detailed” mode of the creation form, you can decide everything from the settings, clues, and placement of the plot twist to the writing style of an author to use as a model. The story is made according to the design you decided, so you can try out building a plot.
For people and situations like these
- ✍️You want to try writing a novel yourself
If you decide a design and then read the result, you can get a feel for where the story peaks.
- 🧩You want to test where the plot twist goes
With the same settings, you can change only where the twist happens and compare the results.
- 🎲You want to be surprised yourself
If you choose “Let AI choose”, a surprise that even you don't know about is included.
How to use
1Open the creation form with “+ Create” at the top, and choose “Simple” or “Detailed”
The “Create a New Story” form opens (if you start from “Take the quick quiz to create” at the top, use “Create with detailed settings (choose every option yourself)” at the bottom of the page). “Simple” shows only the 11 key questions, and “Detailed” shows all 58. For the total length, you can choose from six options, from “Complete in 1 chapter” to “Create 5 chapters now, decide what comes next later” (to make it longer, you can add continuations to the finished story).
2In “Simple”, open “Using recommendations · View / change” only where you want changes
Fields that aren't shown use our recommendations. Tap “▸ Using recommendations · View / change” at the end of a section to see and change the hidden fields. Options such as genres are listed with the most popular first, and “▼ See more (by category)” shows them all. In “Detailed”, every field and every option is shown from the start, grouped by category. The section contents at the top take you to the section you want.
3Set the flow of sentences in “Write in the manner of”, right below “Writing style”
Choose an author in “3. Writing, Plot, and Art Styles”, and the story takes that author's flow of sentences, way of ending chapters, way of paying off clues, way of closing the ending, and way characters talk as its model (it doesn't copy the author's text, titles, or characters; only authors whose copyright has expired are available). In the same section, you can also choose the narrator, sentence rhythm, amount of dialogue, how chapters end, and how characters talk. In “Simple”, these appear when you open “Using recommendations · View / change” in this section.
4Decide the design in “7. Clues and Surprises”
You can choose the placement of the major twist, when clues pay off, and more. Fields you don't decide can be set to “Let AI choose”. While filling in the form, tap “💾 Save” in the bar at the bottom to keep up to 10 under names of your choice (in this browser on this device). “📋 Your choices” lists everything you've chosen so far.
5Tap “Review your entries”, check, then start creating
You can fix each section with “Edit”. If everything looks good, tap “Create from Chapter 1 with these settings”.
Write with the same settings as a story you love
“Story settings” on a story's page shows the settings chosen when that story was made (audience, genre, writing style, and so on). Tap “Write with these settings” and the same settings go into the creation form, so you can make a new story of your own.
For people and situations like these
- 🔍You're curious how a story was made
See the choices behind it, such as the genre, writing style, and how many surprises it has.
- ✍️You want your own story with the same feel
The choices stay the same, while you decide the characters' names and what happens.
- 🧭You want a guide to choosing settings
Looking at the settings of a story you like gives you a sense of what to pick in the creation form.
How to use
1On the story's page, tap “Story settings” under “Create from this story”
It's below the synopsis on the story's page. It doesn't appear for stories whose settings can't be viewed.
2Look through the chosen settings
They're grouped by the same sections as the creation form. Free-text entries such as character names, and information about the creator, are not shown. Items that would be spoilers, such as the ending, twists, and partings, open only when you tap “⚠ Show spoiler settings (ending, twists, partings)”.
3Tap “Write with these settings”, then make changes on the review screen before you start
The same settings are filled into the creation form and the review screen opens (tapping alone creates nothing). Only the multiple-choice parts are copied; free-text fields stay empty (if left empty, AI decides). Enter a pen name, check the box to agree, and tap “Create from Chapter 1 with these settings”. You can fix anything with “Edit”.
If something doesn't work
- A message says my unfinished entries will be lost
If the creation form has unfinished entries, you're asked first whether to replace them with the story's settings. To keep them, tap “Cancel”, then save them first with “💾 Save” in the bar at the bottom.
- Some fields have a red frame
Those settings aren't available under the current rules. Choose those fields again before you start.
- There are fewer text languages
You can choose up to 3 text languages, so a story written in 4 or more languages starts with 3 of them. You can change them in the creation form.