How to Make a Picture Book at Home with Your Child: Dollar-Store Supplies and 4 Ways to Bind It
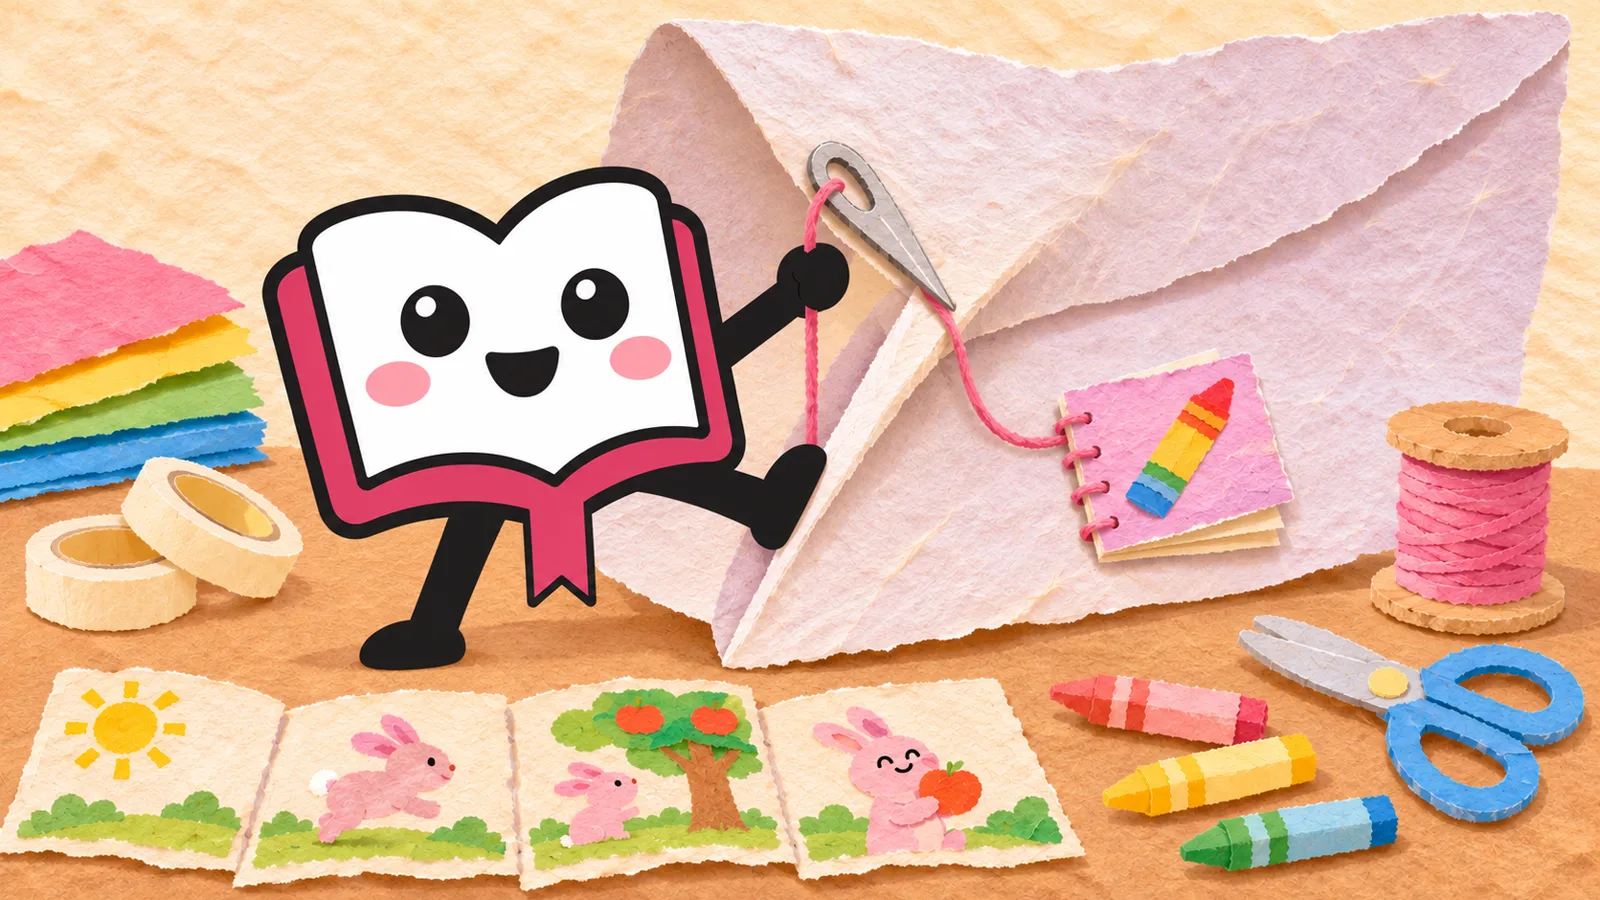
The secret to a homemade picture book is deciding how many pages you will have before anyone draws, by choosing how many sheets to use and how to fold them. This guide shows how to make a picture book at home with supplies from a dollar store or craft store: an 8-page mini book from a single sheet, an accordion book, a saddle-stitched book sewn with thread, and a ring-bound book, plus how to split the jobs between parent and child and how to finish the book so it lasts.
Key takeaways
- The number of pages depends on how many sheets you use and how you fold them. Stacked sheets folded in half always give a multiple of 4. If the cover is the same paper, the front and back covers count too; if the cover is separate cardboard, count inside sheets × 4
- For a first book, the 8-page mini book (6 pages inside) made from one A4 sheet with a single cut is the easiest
- For a real picture-book shape, stack drawing paper and sew it through three holes along the fold (saddle stitch). If you want to add pages later, use ring binding
- Adults handle the craft knife, awl and needle; children handle the story, the pictures and the gluing
- A picture book with drawings of a favorite character is for enjoying at home. Handing it out or posting it online may require permission from the rights holder
When you make a picture book by hand, the usual stumbling block is not the pictures or the story. It is the page count: "we finished drawing and ran out of pages," or "the last page was left blank." Fold one sheet of paper in half and you get four faces, front and back, which means four pages. Decide the number of pages before you draw, by choosing how many sheets to use and how to fold them, and you can put all your attention into the pictures and the story.
For a first book, the 8-page mini book, folded from one A4 sheet with a single cut of the scissors, is quick enough to make the same day you think of it. This guide starts with the mini book and then walks through the accordion fold, the saddle stitch (stacked drawing paper sewn with thread through the fold) and the ring-bound book, all made with supplies you can find at a dollar store or craft store.
Count before you fold: how many pages one sheet makes
The pages of a book are the "faces" of the paper. Fold one sheet of drawing paper in half and you get four faces: the front cover, the left and right sides inside, and the back. Stack two sheets and fold them and you get 8 faces; three sheets give 12. With any book made of stacked, folded sheets, the page count is always a multiple of 4. Printed booklets (saddle-stitched) work the same way: each sheet carries four pages, and if the total is not a multiple of 4, the leftover pages come out blank.
If the cover is made of the same paper as the inside, this count includes the front and back covers. In an 8-page book of two stacked sheets of drawing paper, there are 6 inside pages for the story. How to count when only the cover is separate cardboard is explained in the saddle-stitch section. The mini book, an A4 sheet folded into 8 panels, also uses 2 of its 8 faces for the front and back covers, so it has 6 pages inside. For either of these two, decide up front that "the story has 6 scenes," and you will not run out of pages halfway.
How to make a picture book at home: 4 bindings compared
There are four main ways to bind a handmade picture book. The binding you choose decides how thick the paper should be, how many pages you get and what tools you need.
| Binding | Paper | Number of pages | Main tools | Best for |
|---|---|---|---|---|
| Mini book (fold one sheet and cut) | One sheet of thin paper, such as printer paper | 8 faces (6 pages inside) | Scissors | A first book; on outings or while waiting |
| Accordion fold | Strips of drawing paper joined end to end | The number of folded panels; add paper to add more | Scissors, glue or tape | Stories that run sideways, like a road or a river; books that stand up for display |
| Saddle stitch (stacked and folded in half) | 2–3 sheets of drawing paper and a thick paper cover | Inside sheets × 4 (cover not counted: 2 sheets = 8, 3 sheets = 12) | Awl, needle and thread | A book you open and read like an ordinary picture book |
| Ring or string binding | A stack of drawing paper cut to the same size | As many as you like; add more later | Hole punch, rings or string | Series you keep adding to; encyclopedia-style books |
If you are not sure, make a mini book first, then move on to a saddle stitch when your child says "I want to make a bigger one." That order also wastes the least material.
Supplies and tools from the dollar store
What dollar stores carry varies by store and season. So rather than product names, this list says what kind of item to look for and in which section.
- Drawing paper and colored construction paper: usually in the stationery or art supply section. Crayons and paint go on well, so it suits saddle-stitched and accordion pages
- Cardboard (items like craft board or chipboard): for a stiff cover. Look in the crafts section
- Masking tape and cloth tape: to reinforce the spine fold and to join accordion panels
- Glue sticks and double-sided tape: liquid glue tends to make paper wavy, so for large areas such as covering a cover with paper, a glue stick or double-sided tape works better
- Embroidery floss or cotton string, and a large-eye needle: for the saddle stitch. Usually in the sewing section
- Awl: a pointed tool for making holes to pass the thread through. Look in the sewing or tools section
- A hole punch and rings such as binder rings: for ring binding
- Crayons, colored pencils, water-based markers and stickers: whatever drawing tools you have at home will do
An 8-page mini book from one sheet of paper
From one sheet of A4 printer paper and a single cut with scissors, you get a small book with 8 faces. No glue and no stapler needed. It fits in your palm, so even small children can turn every page to the end.
- Lay the paper landscape, fold it in half by bringing the top and bottom edges together, crease it and open it again
- Fold it in half by bringing the left and right edges together, then fold it in half left to right once more. When you open it, the creases form 8 panels: 4 across and 2 down
- Go back to the shape folded in half left to right. From the folded side, cut along the middle horizontal crease for the length of one panel. When you open it, there is a slit two panels long in the middle
- Open the paper, then fold it in half the other way, top edge to bottom edge, into a long, thin strip
- Hold both ends and push them toward the middle. When the slit opens into a cross shape, fold it flat so the pages stack together
- While it is still folded, write a small page number in pencil in the corner of each page, then open it, draw the pictures and write the story
The numbering in step 6 matters: do it before you draw. On the opened sheet, the 4 panels in the top row are upside down, so if you draw without numbers, pictures end up standing on their heads or pages end up out of order when you fold the book. Follow the numbers and turn the paper around to draw the top row.
An accordion picture book can grow longer with more paper
An accordion (concertina) fold is a long strip of paper folded into alternating peaks and valleys. When you spread it out, the scenes connect side by side, so it suits stories that move from left to right: walking along a road, floating down a river, animals lining up in a row.
Cut drawing paper into strips of the same width and glue them end to end, leaving about 1 cm of overlap for the glue. The number of pages is the number of folded panels, so if the story grows, just add another strip. Glue cardboard to both ends for covers: closed, it is a book; opened, it can stand on a table as a display.
Stack drawing paper and sew a saddle stitch with thread
The binding that looks most like a real picture book is the saddle stitch: sheets folded in half, stacked and sewn through the fold. A regular-size stapler usually cannot reach the center fold of stacked paper, so at home, sewing with thread is the reliable way. Three holes are enough.
Here the cover is separate cardboard, so do not count the cover; count the pages as inside sheets × 4. With 2 inside sheets, all 8 pages can hold the story, so prepare 8 scenes. The 2 inner faces of the cover can be used for the title and the author's name.
- Stack the inside sheets (2–3 sheets of drawing paper) and the thick paper cover, fold them in half and crease the fold firmly
- Open the book with the inside facing up, put an old magazine or similar underneath, and make 3 holes along the fold with the awl (one in the middle and one about 2 cm from the top and bottom edges)
- Cut a piece of thread about three times the length of the spine and thread the needle. From the inside, push it through the middle hole to the outside. Leave about 10 cm of tail on the inside
- From the outside, go in through the top hole, run along the inside and come out through the bottom hole
- From the outside, go in through the middle hole back to the inside. Tie the tail you left and the thread on the needle in a tight knot, with the long inside thread caught between them
When you stack several sheets, the outer sheets have to wrap around the fold, so when the book is closed the edges of the inner pages stick out. After binding, trim the overhang straight with a ruler and craft knife for a proper book finish. To keep the thread binding easy, this guide recommends up to about 3 inside sheets of drawing paper (12 pages, not counting the cover).
To add pages later, punch holes and use rings
For a book you want to grow every time your child draws, make it so it can be re-bound. Cut drawing paper to the same size, punch holes along the left edge and put rings through them or tie them with string. Use the first punched sheet as a template and mark the hole positions on the other sheets in pencil, and the holes will line up on every page.
Another handy thing about ring binding is that you can take out a single page and redraw it. When your child says "I want to redo just this page," you do not have to remake the whole book.
Who does what: jobs for the child, jobs for the adult
The biggest joy of a handmade picture book is that the child can feel "I made this myself." Separate the work that uses blades and needles from the work of deciding the pictures and the story, and have the adult take the first and the child the second. That lowers the risk of injury while still giving you a book your child can feel they made themselves.
| Job | Tasks the child can handle | Handled by the adult |
|---|---|---|
| Story and scenes | What the story is about, which scenes to draw, the book's title | Counting scenes together so they match the number of pages |
| Folding | Pressing creases with a fingernail; once used to it, folding up the mini book | Lining up the first fold |
| Cutting | Cutting along thick lines with child-safe scissors | Craft knife, cardboard, the slit in the mini book |
| Drawing and sticking | Pictures, coloring, stickers, and the words if they can write | Writing down the words of a child who cannot write yet |
| Binding | Pulling the thread, putting the rings through | Making holes with the awl, using the needle |
The recommended age for children's scissors is printed on each product's package, so check it and let your child use them with an adult nearby. Dividing jobs by what your child can do right now works better than dividing by age. A 2- or 3-year-old can become the author of a book just by putting stickers on a blank mini book an adult has folded and coloring it in with crayons.
Plan the story backward from the number of pages
The story itself is best decided by talking it over with your child. For how to go about it, and questions that help when the story gets stuck, see How to make up stories with kids. The trick that is special to handmade picture books is to fix the number of pages first, divide the story into scenes to match, such as "beginning, something happens, a problem, help, solution, ending," and only then work out the story. In a book with 6 inside pages, that gives one scene per page. In a saddle-stitched book with a separate cover and 2 inside sheets, you have 8 pages, so use two "something happens" scenes and two "help" scenes to make 8.
If coming up with a story from scratch is hard, you can also read a story first and then turn it into a picture book by hand. With Original Novel's "Easy Create," you just choose a genre and a main character to get an illustrated first chapter. If you set the reader to "children (up to 12)" on the create page, it suggests a shorter chapter of about 1,000 words, around 5 minutes to read (no sign-up needed as of November 2026). When you finish reading, pick 6 scenes together by asking "Which scenes do you want to draw?" and redraw them in a mini book with your own pictures. Stories you create can be read by anyone, so do not use your child's real name for the characters.
Read stories you might want to turn into a picture book
See more: Read stories you might want to turn into a picture book ›Stories for children written by AI on this site, listed by how often they are read.
A finish that survives page after page
Handmade books tend to wear in three places: the spine fold, the corners of the cover and the edges of the pages.
- Stiffen the cover: cover cardboard with colored paper and cut it a little bigger than the inside pages to protect the page edges
- Tape the spine: one strip of masking tape or cloth tape along the outside of the spine fold makes the paper around the thread or rings less likely to tear
- Round the corners: rounded corners curl up less and are less likely to poke a hand
- Keep colors from transferring: colored pencil and crayon drawings can rub off onto the facing page. If that bothers you, put thin paper between the pages, or apply something like clear book-cover film to the cover
- Add a colophon on the last page: write the title, the author's name and the date it was made. Years later, when you read it again, you will know when the pictures were drawn
Picture books with favorite characters are for enjoying at home
Article 30 of Japan's Copyright Act provides that a person may reproduce a work for use for personal purposes or within a limited circle such as the family, except in certain cases (reproduction for private use). A single book made for parent and child to read together at home can be considered a use enjoyed within this scope.
What needs care is how the book is used afterward. Article 49 of the same law provides that if copies made for private use are distributed outside that purpose or shown to the public (including making them viewable by posting them online), the person is deemed to have made a reproduction. So even with a picture book made at home, uses such as handing it out at a bazaar or posting photos of it on social media go beyond the family circle, and may require permission from the rights holder. For a book you want to show other people, using original characters your child came up with is the safe choice.
Sources (date checked)
- Copyright Act (Act No. 48 of 1970)e-Gov Laws and Regulations Search (Digital Agency, Japan) / Japanese / Checked Nov 18, 2026
- I want to copy so that it becomes a bookletFujifilm Business Innovation / Japanese / Checked Nov 18, 2026
FAQ
What size should a homemade picture book be?
It depends on how you make it. A mini book made from one A4 sheet has pages one-eighth of A4 (about 7.4 cm × 10.5 cm), small enough to sit in your palm. If you fold A4 sheets in half and saddle-stitch them, each page is A5 (14.8 cm × 21 cm). When a young child wants to draw big, the folded-in-half book is the easier size to draw on.
Can I make a picture book with only dollar-store supplies?
Yes. Items such as drawing paper, cardboard, masking tape, glue sticks, thread and needles, and a hole punch can often be found in the stationery, art supply and sewing sections of dollar stores. What these shops carry varies by store and season, so check the shelves. A one-sheet mini book can be made with nothing but printer paper and scissors from home.
Should I use printer paper or drawing paper for a homemade picture book?
For the mini book, where one sheet is folded into eight, thin paper that folds easily (such as printer paper) works best. For saddle-stitched books made of stacked, folded sheets and for accordion books, drawing paper is better: crayons and paint go on well and it holds up to page turning. Making just the cover from cardboard helps the book last longer.
Can I bind it with a stapler?
If you fasten the left edge of the pages in two places, a regular stapler works. In that case, put cloth tape or similar over the staples along the spine so little hands do not touch the staples and the paper is less likely to tear. For a saddle stitch, which fastens the pages at the center of the fold, a regular stapler usually cannot reach that far, so sewing it with thread is the reliable way.
How can we keep a picture book our child made for a long time?
First, photograph or scan every page so the pictures survive even if the book wears out. Keep the book itself in a clear folder or a box, away from sunlight, so the paper and colors fade less. When you have several books, stand them in the same box in the order they were made so they are easy to find when you want to read them again.